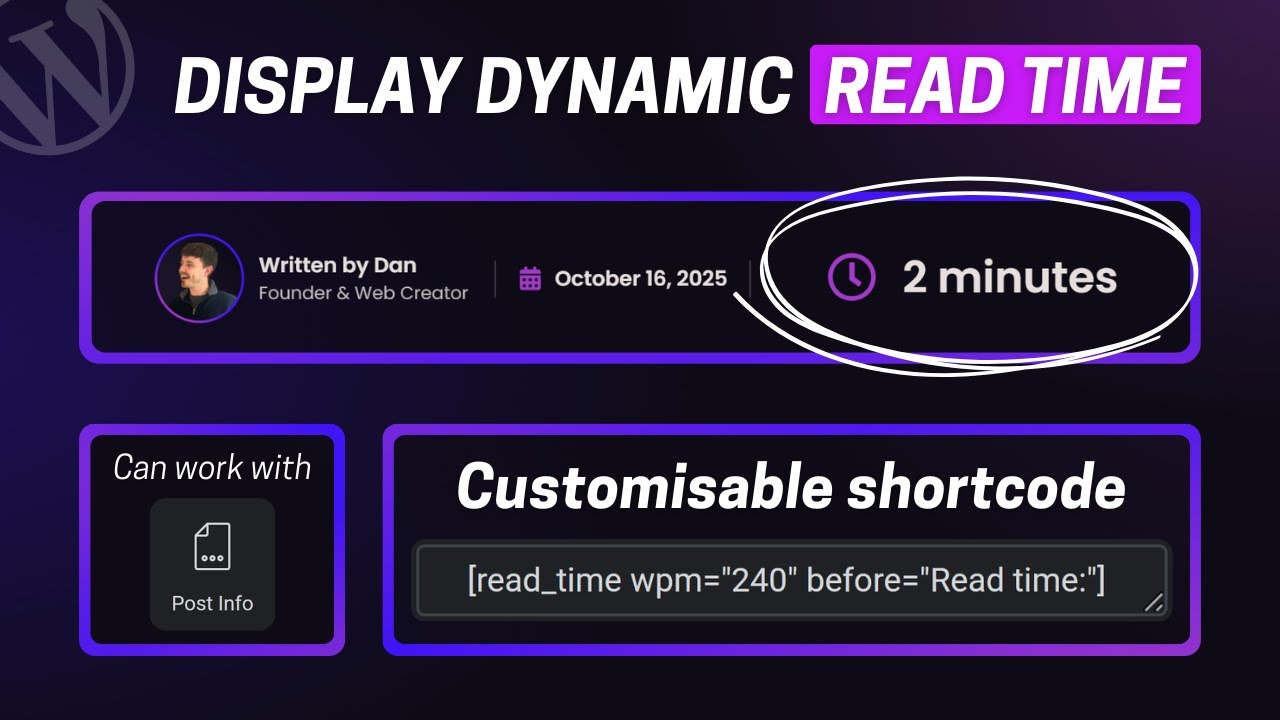

🟢 TIP: This article is meant to be used alongside with the video tutorial below. Check it out for a more detailed walkthrough of each step.
Step 1: Add the PHP snippet
Copy the snippet below and add it to your site via your preferred method. If using a child theme, paste it into your theme’s functions.php file. Otherwise, use a snippet plugin such as Code Snippets or FluentSnippets, create a new PHP snippet, paste the code in then activate the snippet.
🔴 NOTE: Check whether your snippet plugin already adds ‘<?php‘ at the top of new snippets. If it does, remove it from the pasted code before saving.
<?php
/**
* Shortcode: [read_time]
* Description: Displays the estimated reading time for a post based on word count.
*
* Attributes:
* - wpm: Words per minute (default: 200)
* - before: Text before the read time (default: '')
* - after: Text after the read time (default: '')
* - (bare word): Optional custom unit (e.g. [read_time min] or [read_time mins])
*
* Examples:
* [read_time] → "3 minutes"
* [read_time wpm="250"] → "2 minutes"
* [read_time before="Read time:"] → "Read time: 3 minutes"
* [read_time after="of content!"] → "3 minutes of content!"
* [read_time min] → uses "min" for all numbers ("1 min", "3 min")
* [read_time mins] → removes "s" for 1, keeps it for plurals ("1 min", "3 mins")
*/

function custom_read_time_shortcode( $atts ) {
  global $post;

  // Only run inside a post
  if ( ! isset( $post->ID ) ) {
    return '';
  }

  // Optional custom unit (e.g., [read_time min])
  $custom_unit = '';
  if ( isset( $atts[0] ) && ! empty( $atts[0] ) ) {
    $custom_unit = sanitize_text_field( $atts[0] );
  }

  // Default named attributes
  $atts = shortcode_atts( array(
    'wpm' => 200,
    'before' => '',
    'after' => '',
  ), $atts, 'read_time' );

  // Validate WPM (invalid or negative values fallback to 200)
  $wpm_raw = $atts['wpm'];
  $words_per_minute = ( is_numeric( $wpm_raw ) && (int) $wpm_raw > 0 ) ? absint( $wpm_raw ) : 200;

  // Count words and calculate read time
  $content = get_post_field( 'post_content', $post->ID );
  $content = preg_replace( '/\[read_time[^\]]*\]/', '', $content );
  $word_count = str_word_count( wp_strip_all_tags( $content ) );
  $reading_time = max( 1, ceil( $word_count / $words_per_minute ) );

  // Determine unit text
  if ( $custom_unit ) {
    $ends_with_s = ( substr( $custom_unit, -1 ) === 's' );
    $unit = ( $reading_time === 1 )
      ? ( $ends_with_s ? rtrim( $custom_unit, 's' ) : $custom_unit )
      : $custom_unit;
  } else {
    $unit = _n( 'minute', 'minutes', $reading_time, 'text-domain' );
  }

  // Build output
  $read_time_text = sprintf( '%d %s', $reading_time, $unit );
  $output = '<span class="reading-time">'
    . esc_html( $atts['before'] ) . ' '
    . esc_html( $read_time_text ) . ' '
    . esc_html( $atts['after'] )
    . '</span>';

  return trim( $output );
}

add_shortcode( 'read_time', 'custom_read_time_shortcode' );
You’ll notice a section of comments at the top of the snippet explaining the available attributes. You can delete these if you don’t need them, we’ll cover the attributes later in this post.
Step 2: Add the shortcode to your post
Once the snippet is active, you can display the reading time anywhere on your site using the following shortcode: [read_time]
How you add it depends on your setup.
Elementor Pro
With Elementor Pro you have access to the Single Post template, which means you can add the reading time directly into your Post Info widget — keeping it alongside your other post metadata like the date and author.
To do this, open your Single Post template in Elementor and locate your Post Info widget. Add a new item, set the type to Custom, disable the link option, then click the dynamic tag icon and select Shortcode. Click the spanner icon and type [read_time]. The reading time will load immediately in the editor.
🟢 TIP: Check out the video tutorial below to see exactly where to add the shortcode.
You can also add an icon to match your other post info items, a clock icon works perfectly.
The benefit of adding it this way is that it stays part of the Post Info widget, so you can style it collectively alongside your other metadata rather than having to style it separately.
Elementor Free
With Elementor Free you don’t have access to the Single Post template, so you’ll add the shortcode directly into your post. You can do this in two ways; either add a Shortcode widget or a Text Editor widget, and type [read_time] into it.
The Text Editor widget has the slight advantage of offering basic styling options directly in the widget settings, which the Shortcode widget doesn’t provide.
Step 3: Customise with attributes
The shortcode supports several optional attributes that let you control exactly how the reading time is displayed. These are added directly to the shortcode so no need to edit the snippet itself.
‘before’ and ‘after’
Add text before or after the reading time:
[read_time before=“Read time:“ after=“of content!“]
‘wpm’ (words per minute)
Controls the reading speed used to calculate the time. Defaults to 200, which is an average reading speed. Adjust this if you’re building for a younger or particularly fast-reading audience:
[read_time wpm=“150“]
🔴 NOTE: the reading time always rounds up, so 1.5 minutes becomes 2 minutes.
Unit
Change the unit label from the default “minutes” to something else, such as “mins” or “min”:
[read_time mins]
The snippet is smart enough to handle singular and plural automatically — so if the reading time is exactly 1, it will display “1 min” rather than “1 mins”.
You can combine any number of attributes together:
[read_time before=“Read time:“ wpm=“150“ mins]
🟢 TIP: If you need to style or target the reading time output, it’s wrapped in a <span> tag with the class “reading-time”, so you can target it directly. However, the class won’t generate if you use the post info widget to display the read time (Elementor overrides it).
Wrapping up
That’s all there is to it. Once the snippet is in place, [read_time] works anywhere on your WordPress site — in templates, directly in posts, or in Gutenberg blocks. The attributes give you enough flexibility to match whatever style your site uses, and the automatic singular/plural handling means you don’t need to think about edge cases.